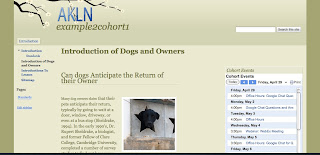
Create a Google Site
This lesson will walk you through on editing a page for the site you set-up using Google Sites.
Google Sites makes it very easy to edit a page, place media on a page and add some Google Gadgets.
To begin with you will want to start by heading over to your site. You can access your site by logging into your gmail account and clicking on sites in the navigation menu. Next you will need to create a new page.
Additional Resources and Support: Google Sites Goodness
Part I: Edit a Page
Part II: Add Calendar
Part III: Add a Copyright Pict
Part IV: Use Aviary to Edit Image
Part IV: Use Aviary to Edit Image
Google Sites makes it very easy to edit a page, place media on a page and add some Google Gadgets.
To begin with you will want to start by heading over to your site. You can access your site by logging into your gmail account and clicking on sites in the navigation menu. Next you will need to create a new page.
- Click on create new page in the right upper corner.
- Select the Layout button to add containers to your content area. This will help to break your content into 1-3 columns to keep the content or Google Gadgets separate.
- Add text to your content containers. Do not forget that Google allows you to copy and paste text from word or text documents.
- You can edit format by changing font size, color, alignment or adding a link. To make titles or heading titles use format and use those heading tags instead of enlarging and bolding font.
- Once you have added and formatted text, insert an image by clicking on image in the upper left edit menu.
- Select insert> Image.
- You can either browse for images and upload from your computer or you can copy the link of an image from the web. BE SURE to abide by appropriate copyright policies when using pictures from the web. To learn more about how to locate copyright free images ,click here.
- Once you have inserted an image, try to insert a calendar. (You may need to create a calendar first, learn how here.) Go to Insert > Calendar
- Choose the calendar you want, and select the format you would like to see it in.
Additional Resources and Support: Google Sites Goodness
Part I: Edit a Page
Part II: Add Calendar
Part III: Add a Copyright Pict
Part IV: Use Aviary to Edit Image
Part IV: Use Aviary to Edit Image


Comments
Post a Comment